4-Ingredient M&M Rice Krispie Treat Recipe
This post may contain affiliate links. Please read our full disclosure policy.
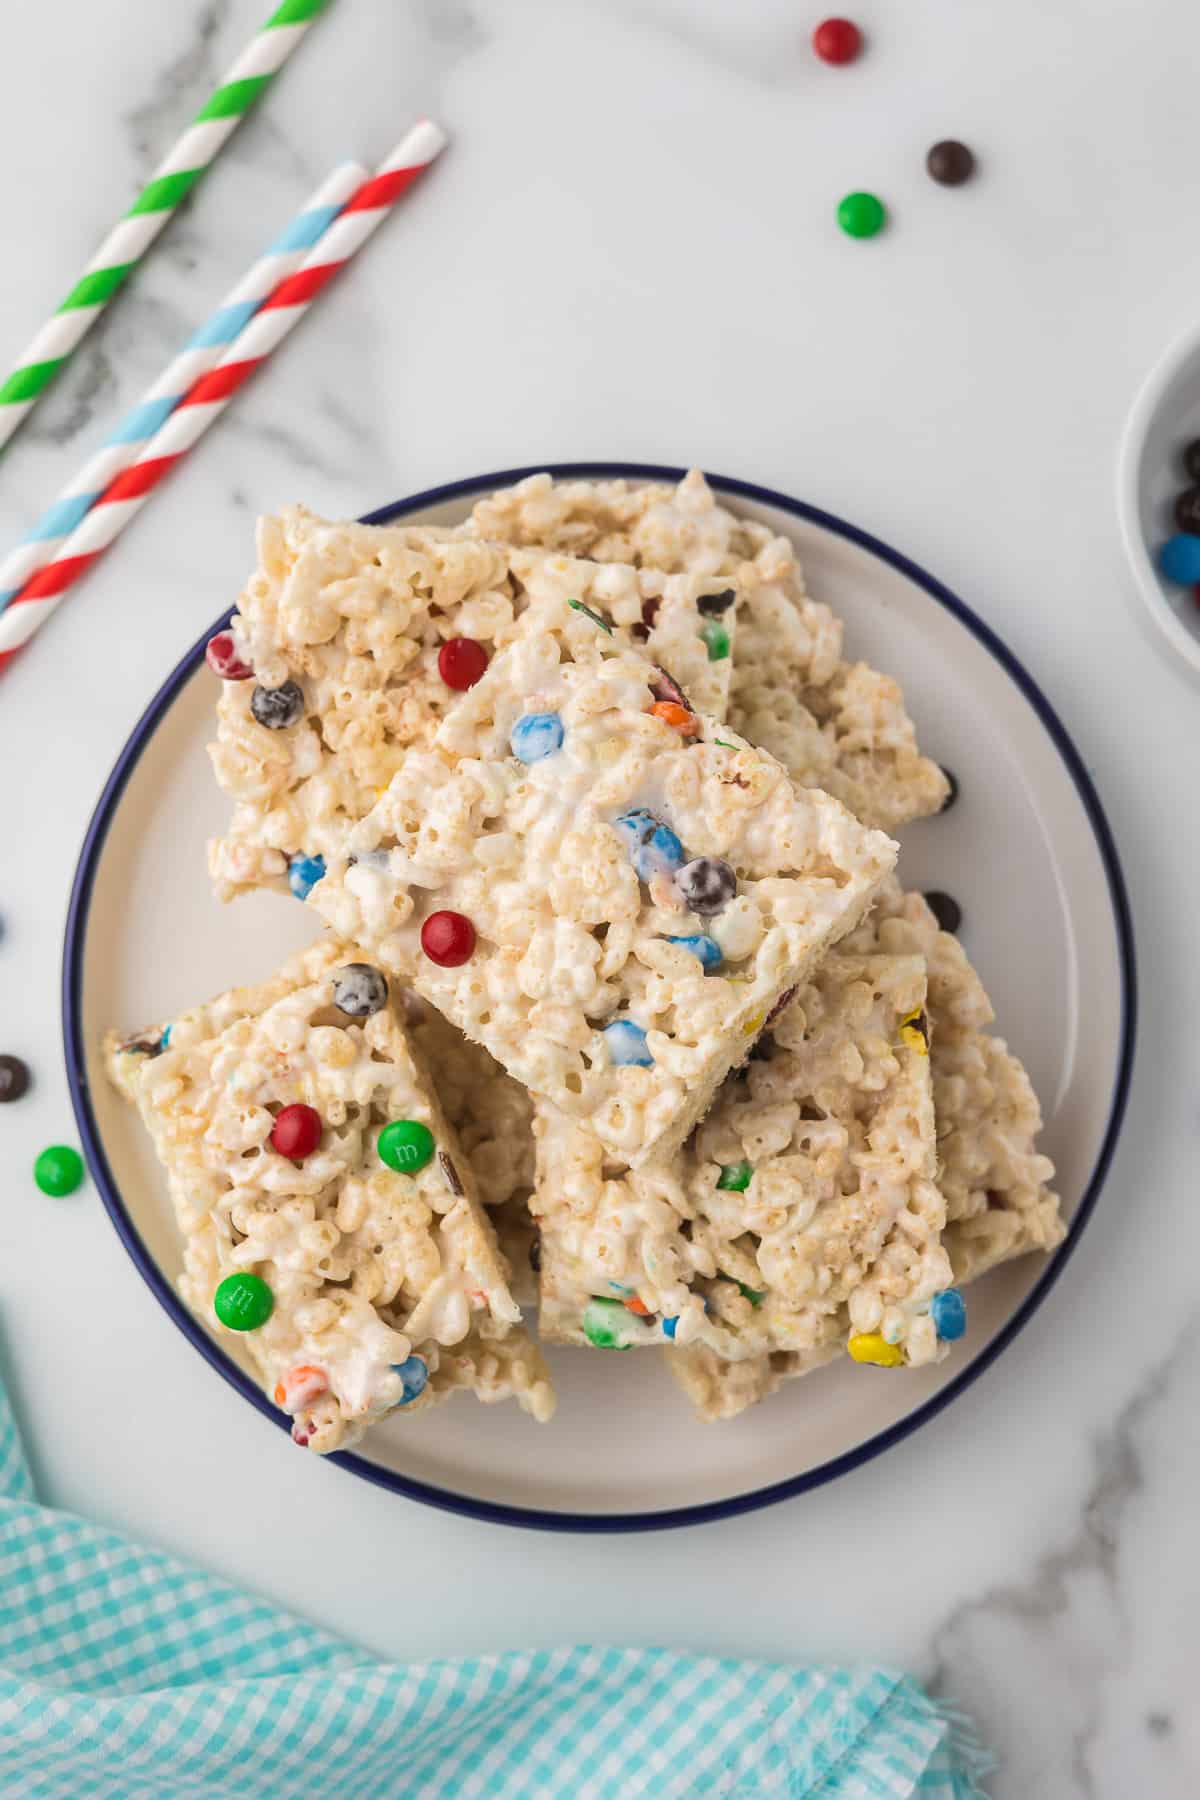
A true classic, this 4-ingredient M&M Rice Krispie Treat Recipe has been satisfying sweet tooths for decades. The perfect balance of chewy marshmallows, crunchy Rice Krispies, and a burst of candy-coated chocolate goodness.
You couldn’t ask for an easier no-bake treat. They are super fun to make, a super fun dessert to eat and these M&M Rice Krispie treats can be enjoyed by kids of all ages.
I don’t know about you, but I’m all about a no-bake dessert! It’s perfect for those moments when you need something quick and easy to whip up for a family gathering or a get-together with friends. The best part? It’s so good that everyone will be asking for the recipe by the end of the night!
If you love no-bake desserts, try these delicious little protein bites and this no-bake key lime pie.
Why you will love this rice krispie treat recipe with mini m&m’s.
- A classic treat – Rice Krispie treats have been a go-to treat since 1939.
- Chewy, crispy goodness – These treats are one of the best chewy, crispy treats out there.
- Easy recipe – You won’t find an easier recipe out there for easy treats.
- No bake dessert – No bake treats are the best, they don’t take up oven space or heat up the kitchen.
- They won’t break the bank – This quick and easy dessert if no expensive to make.
M&M rice krispie treat ingredients

- Butter – Salted or unsalted butter both work for these treats.
- Marshmallows – I used large marshmallows but you can also use mini marshmallows
- Rice Krispies – Rice Krispies add a nice crunch, the store brand is fine too.
- Mini M&M’s – I used mini M&Ms but if you only have the full size you can use them and cut them in half or chop them.
How to make rice krispie treats
Step 1: Add butter and marshmallows to a microwave-safe bowl. Microwave for 1 minute. Stir the ingredients together and microwave in 30-second intervals until the marshmallows are completely melted. Alternatively, you can melt on the stovetop over medium heat in a large saucepan.

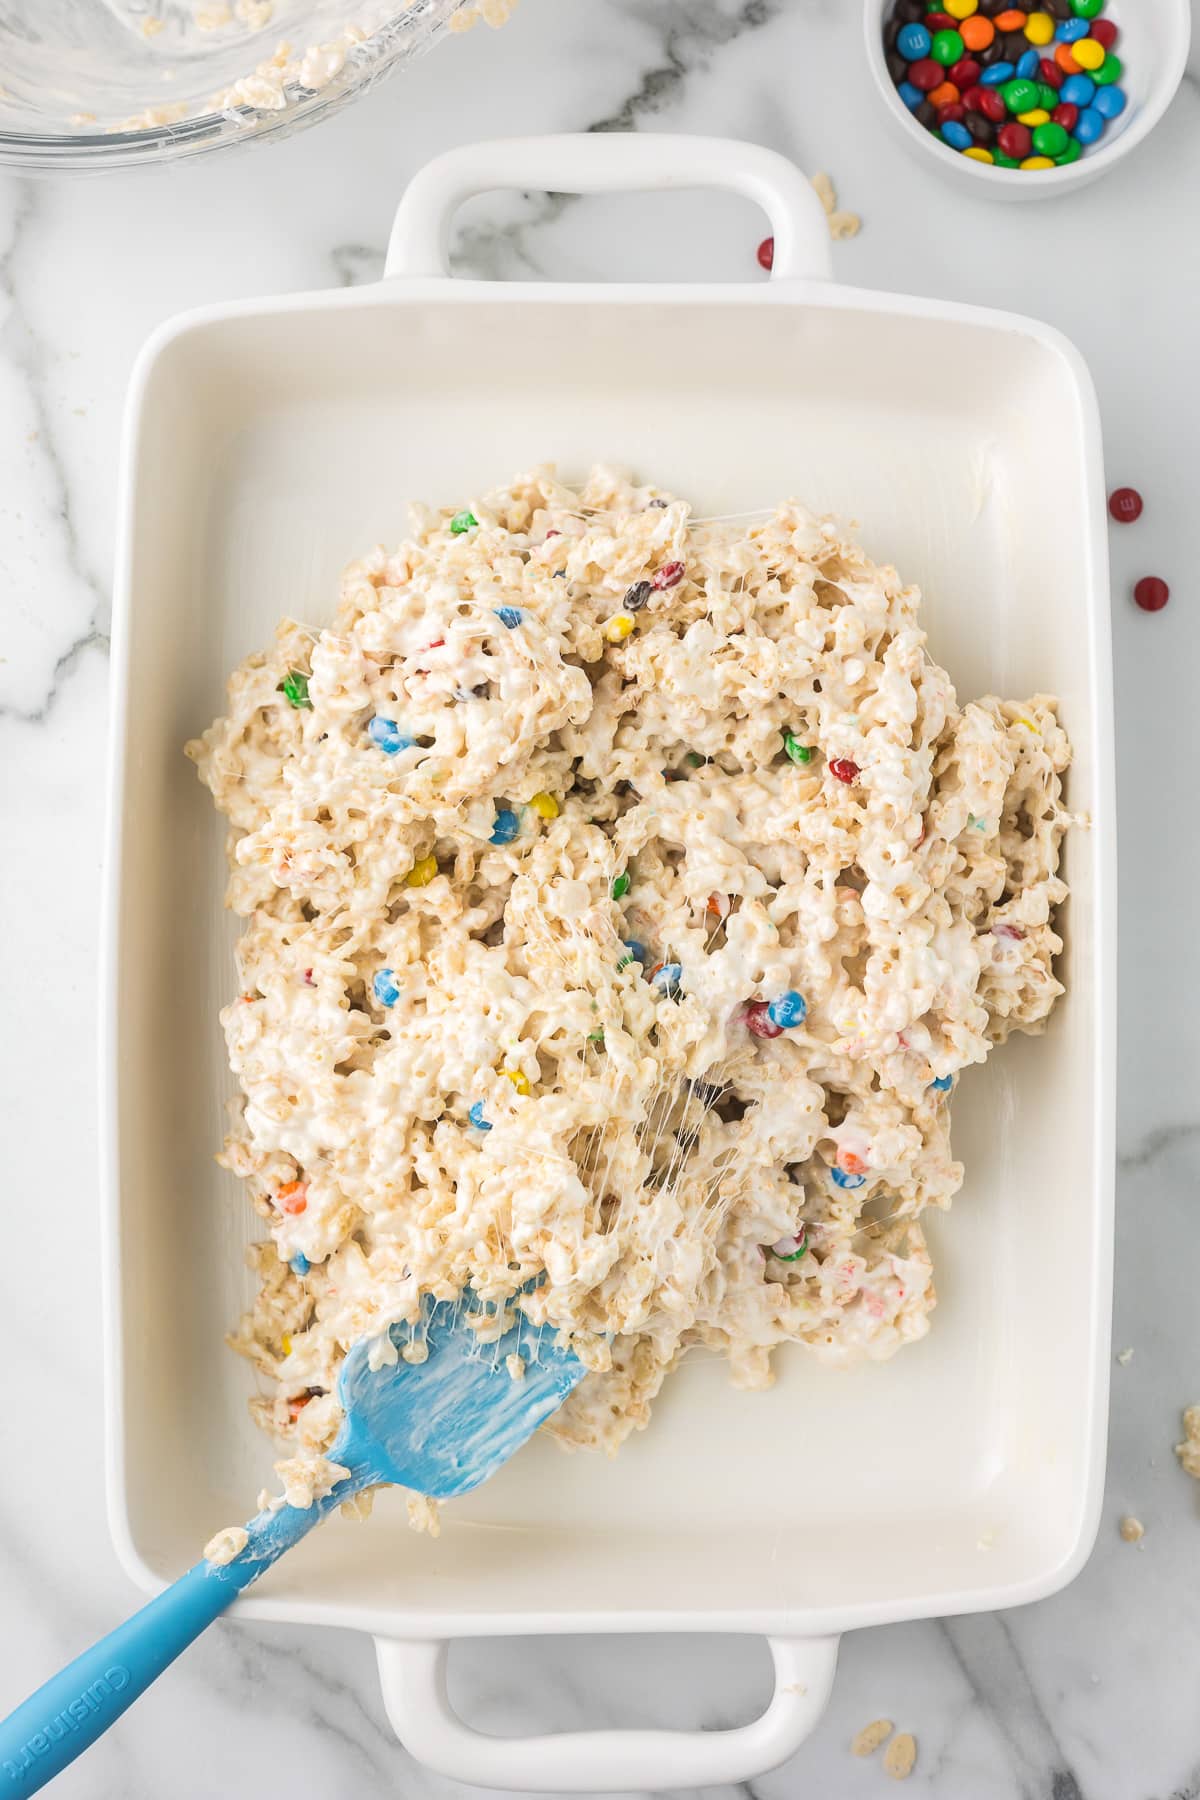
Step 2: Add KELLOGG’S® RICE KRISPIES® cereal. Stir until well-coated. Quickly stir in half of the M&M’s. Work quickly so the color from the candies does not bleed into the cereal mixture.


Step 3: Using a rubber spatula coated with butter or wax paper evenly press the melted marshmallow mixture into a 13 x 9 x 2-inch baking dish or pan coated with non-stick cooking spray or lined with parchment paper. Cool.
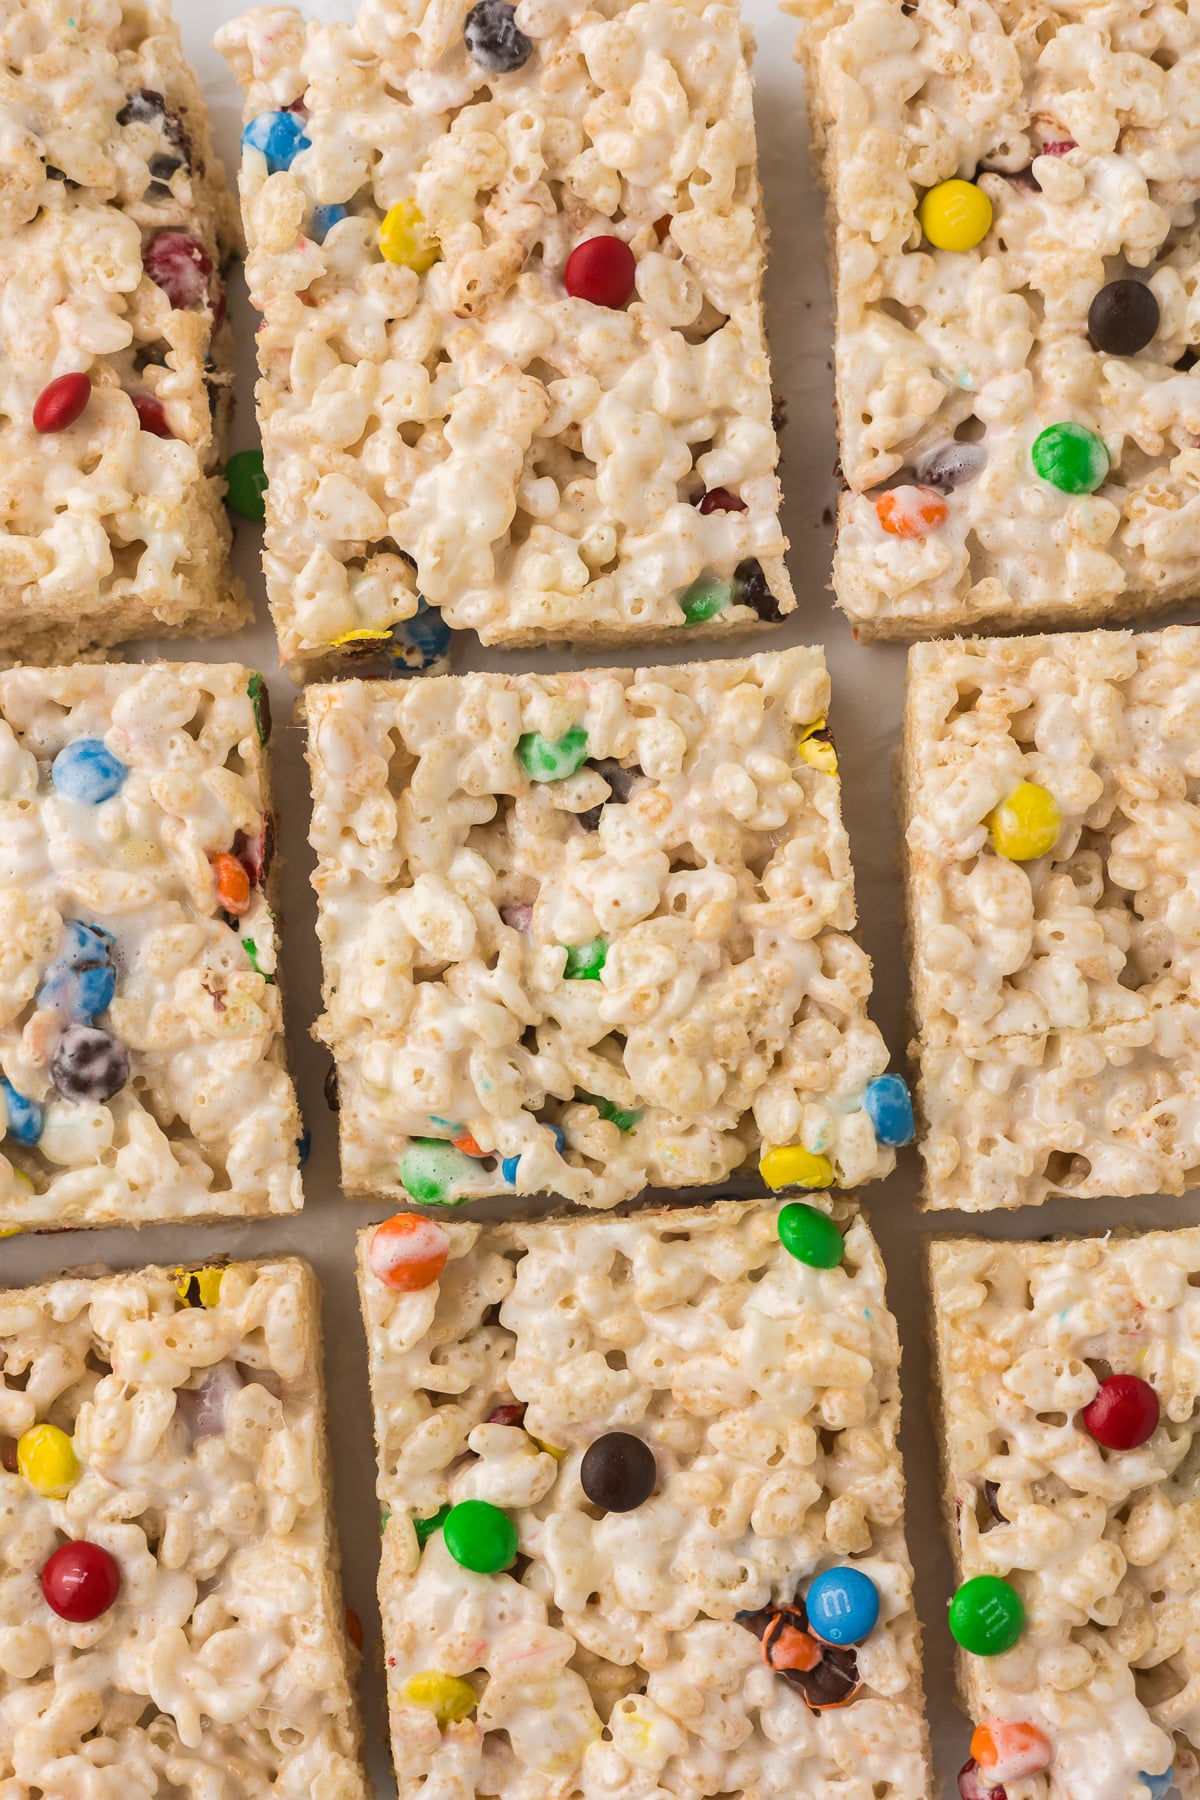
Step 4: Sprinkle extra M&M’s over the top in an even layer. Cut into 2-inch squares. If you want the perfect treat, make sure there is at least one mini M&M on each square.

Would you like to save this recipe?
FAQ
If your treats aren’t sticking together it could be because you over melted the marshmallows or the butter you used had too much water in it.
If the marshmallows get too hot this may result in hard Rice Krispie treats.
If the marshmallows won’t melt it could be because they are too old. If they have been sitting around, especially in an open bag, they will get hard and difficult to melt. For the best results in making this classic Rice Krispie dessert buy a fresh bag.
How to store rice krispie treats
Rice Krispie treats can be stored in an airtight container in a cool dry place like on the kitchen counter for up to one week.
Can I make m&m rice krispie treats ahead of time?
You can definitely prepare Rice Krispie treats a few days ahead and store them on the kitchen counter, but let’s be real—nothing beats the taste of freshly made Rice Krispie treats! If you can, try to make them the day of for that perfect gooey texture.
Rice krispie treat variations
- Use a different candy: Instead of M&M candies, use a different colorful candy like Skittles.
- Mix in chocolate chips: Stir in dark, milk, semi-sweet, or white chocolate chips.
- Stir in peanut butter: Add a few tablespoons of peanut butter to the mixture to make peanut butter Rice Krispie treats. If you need nut-free treats for school events, use seed butter.
- Drizzle with chocolate: Top the homemade rice krispie treats with a drizzle of melted chocolate for the perfect dessert.
- Make them seasonal: For Halloween use orange colored candies, for Valentine’s Day choose pink or red candies for Christmas Rice Krispies treats use red and green.
- Top with extra marshmallows: Sprinkle mini-colored marshmallows on top of the treats.
Can M&M rice krispie treats be frozen?
Yes, you can freeze leftover rice krispie treats. Leftover treats can be frozen for up to 6 weeks. Freeze in individual portions in plastic wrap or a Ziploc bag so you can easily pull them out of the freezer one at a time.
Tips
Room temperature – Let the Rice Krispie squares come to room temperature before storing them.
Add vanilla – To sweeten up the treats a touch, add some vanilla extract.
If you want a thicker bar, use a 9 x 9 pan instead of 9 x 13.
Press lightly to keep the bars from becoming hard when it’s time to eat them.
More delicious treats
Strawberry Cheesecake Bites – A delightful bite-sized treat that will have you craving more.
Banana Bread – A delicious recipe I learned from my grandmother.


M&M Rice Krispie Treat Recipe
Ingredients
- 3 Tablespoon Butter
- 1 10 ounce Marshmallows
- 6 cup Rice Krispies
- 1/4 – 1/2 cup Mini M&M's
Instructions
- Add butter and marshmallows to a microwave safe bowl. Microwave for 1 minute. Stir the ingredients together and microwave in 30-second intervals until the marshmallows are completely melted. Alternatively, you can melt on the stovetop over medium heat in a large saucepan.3 Tablespoon Butter, 1 10 ounce Marshmallows
- Add rice krispie cereal. Stir until well-coated. Quickly stir in half of the M&M's. Work quickly so the color from the candies does not bleed into the cereal mixture.6 cup Rice Krispies, 1/4 – 1/2 cup Mini M&M's
- Using a rubber spatula coated with butter or wax paper evenly press the melted marshmallow mixture into a 13 x 9 x 2-inch baking dish or pan coated with non-stick cooking spray or lined with parchment paper. Cool.
- Sprinkle extra M&M's over the top in an even layer. Cut into 2-inch squares making sure there’s a mini M&M on each one for the perfect treat.
Notes
-
- Room temperature – Let the Rice Krispie squares come to room temperature before storing them.
- Add vanilla – To sweeten up the treats a touch, add some vanilla extract.
- If you want a thicker bar, use a 9 x 9 pan instead of 9 x 13.
- Do not press the mixture aggressively into the pan. Press lightly to keep the bars from becoming hard when it’s time to eat them.
What a fun and colorful recipe! Gosh, I always forget about Rice Krispie Treats, but now you’ve just me taken back to childhood memories which seemed to often include these simple treats. I can’t tell you how long it is been since I’ve had one of these. So it looks like the weekend is calling for these to be made.